BLTouch - How I did it
Below I will describe how I setup my Antclabs BLTouch with my Black widow.
Things you will need
Wire - I purchased off of Amazon a 5 wire cable 22 guage

You will also need a set of 3 wire and 2 wire JST connectors that I described in an earlier post.
You will need to download the ANTCLabs official mount from Thingiverse that also includes the update firmware they created and works without modification. This can be downloaded from here:
ANTCLabs BLTouch Mount


You should also download and print the BLtouch gauge. This makes sure your BLTouch is the proper distance from the bed without guessing.
BLTouch Gauge by ProtomakerSprint

Once you have the mount printed out do not update the firmware or remove your existing Z axis end stop until you have installed the mount as well as the BLTouch. The wiring diagram is here:
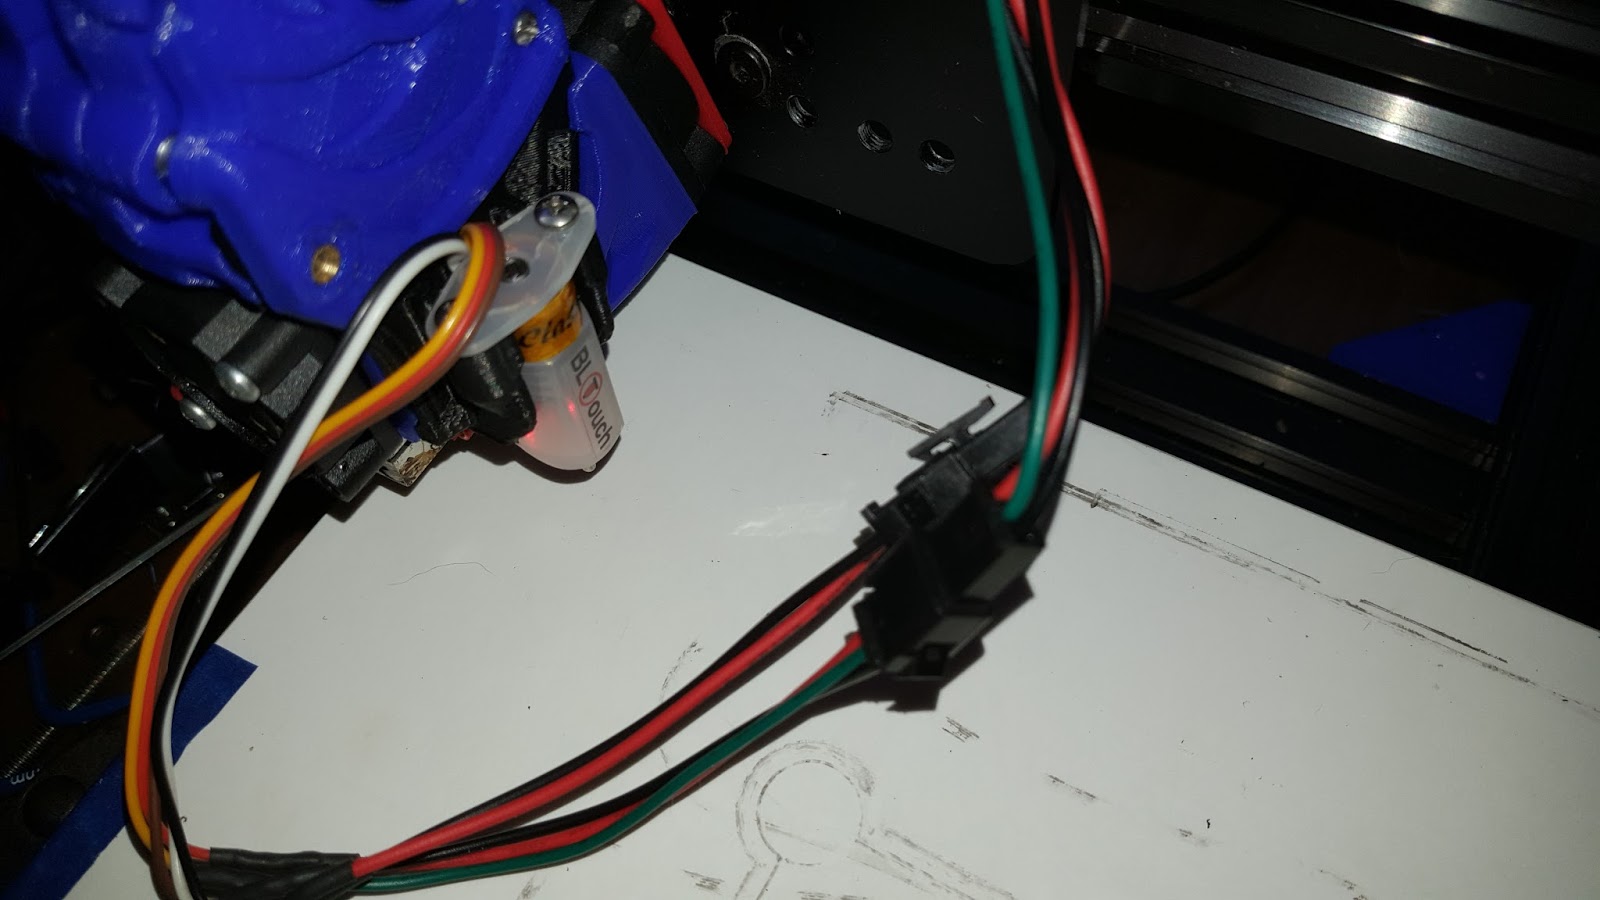

Make sure your wiring is exactly as shown above. Be sure to translate your wire colors unless you are running wires with the same exact colors. Reversing the servo wires will cause problems. I have not had a problem with switched end stop wires. Just make sure you are using the proper 2 end stop pins for the end stop connection. With you hot end cold bring the nozzle to the bed with a sheet of paper clearance. With the nozzle in position use the gauge you printed earlier to make sure that the BLTouch is the proper distance from the bed (make sure the gauge is on the paper also for proper distance).
Once the connections are in place you can flash the firmware to your board. Slide the existing end stop or remove it from the frame.
Run a G28 or Auto Home to see if everything is moving properly and your extruder homes to the middle of the bed. If the Z axis only moves up instead of down you will have to reverse the direction in the firmware for your Z axis.. I have only seen this randomly but it can happen. If your bltouch is blinking the printer will never Home and the Z will just keep rising. You will have to clear the alarm with M280 P0 S160 this will bring the red led solid and you can try again.
You will want to add the G29 command to your start script in the slicer you are using right after the G28 command
If you would like to make your own mount use the below diagram for the sizing.

No comments:
Post a Comment